
‘‘So it turns out that watering a potted plant is pretty essential to its survival.’

It wasnt until a few years after travelling to Japan that I began to appreciate the art of crafting, sculpting and ultimately designing, trees. There is a fine art called Bonsai which has been developed over the centuries into this highly refined, ritualistic technique of cultivating minature trees. Here is my attempt.

This is a drawing I created in Japan after seeing an absolutely mind boggling tree, right in the epicenter of where the Hiroshima bomb was dropped. Its foliage literally looked like rich bluey green flames roaring up into the sky. It took me another couple of days before I found someone who could tell me the name of the tree: Juniperus Chinensis Kaizuka. When I returned to the UK I started looking around garden centres for a similar tree. I was aware of the bonsai process of pruning, potting and wiring so when I found one I got to work. Below is my journey.

Like any highly refind process there are words created just for that particular process. In Bonsai creation the plant is referred to as the ‘material’ so this is the material straight from the garden centre. I was drawn to it because it was vibrant and had plenty of character in its foilage. Additionally, I dug away a bit at the base of the plant and could see it had an interesting root system (often a noticable feature of Bonsai). The next stage would be to break away all the soil and trim the roots. Apparently you can trim a third without it effecting the tree.

The next stage is positioning the plant in the pot. I just grabbed whatever pot I had but i will look to re-pot once i have seen a more suitable one. A bonsai pot comes with three holes, one for drainage and two for wiring. I didnt have any so i just drilled these into the base of the pot. The next step is to use wire to fix the root system to the pot. Afer doing this I began rotating the plant an selecting branched and foilage for pruning. I believe you are looking to identify the main viens of the plant and prune the smaller weaker branches to create balance and maximise tree health. You have to be careful not to over prune the tree.

The next stage is returning soil to the pot. Using a chop stick or similar you compact the soil around the root system trying not to leave any airpockets. The soil has to be rich and I threw in a bit of vermiculite for extra drainage so the roots can breathe.
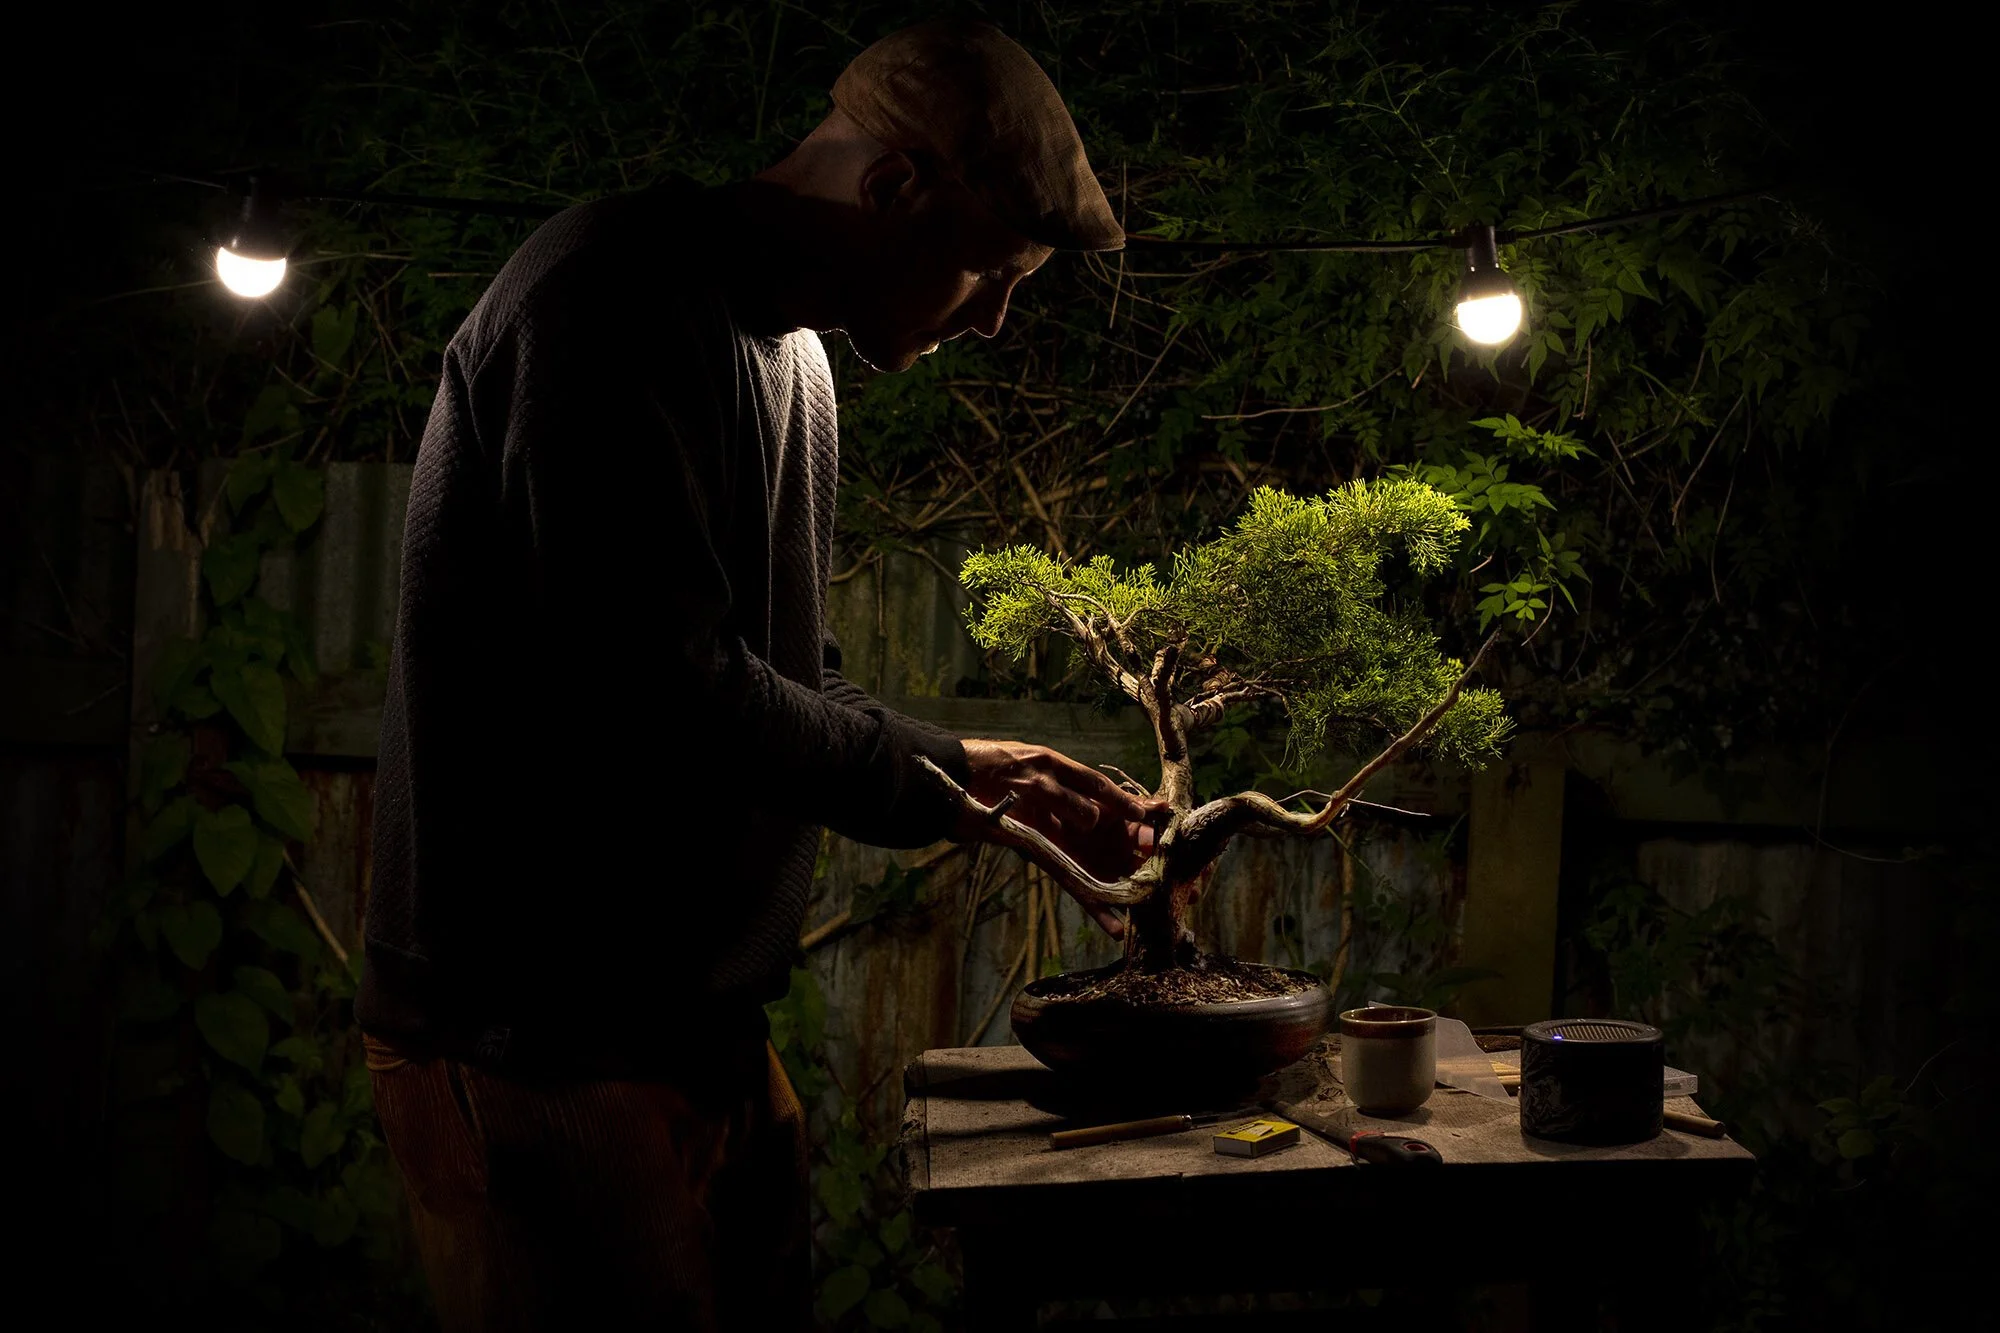
The next stage is wiring. This is where the long term design of the Bonsai comes into play. The wire is wrapped around selected branches and then the branch is shaped into position. I was looking to create character in the branches and to balance the shape of the tree. I also used this technique to push some of the foliage upwards (similar to the tree in my drawing. As the branched age, they harden.
The final touch was to support the main root vein. This is merely because my wire was a bit soft so wasnt confident in my root wiring. I placed a littel twig to help support the tree as I will be tilting the pot to create extra shape in the foliage. The next step is to wait a couple of years for the results (and the occasional feed and prune). See you in a couple of years!

Second attempt (the first perished)
So it turns out that watering a potted plant is pretty essential to its survival. Ooops. After a holiday spree I came back to a dead tree. This actually turned out to be a blessing in disguise. The death of the tree made my ‘fight or flight’ instincts to strengthen and I’m not the ‘flight’ type.
I spent the next 6 months researching the bonsai masters, techniques, history and modern bonsai practitioners. During this time I became acquainted with what defines ‘desirable’ attributes and ultimately the value of a bonsai. The one thing that propelled me back into the process was the discovery of ‘Yamadori’ bonsai which effectively means a bonsai that has been foraged and not from a nursery.
It took me 7 months of searching before I found this:

It was a coniferous tree on wasteland next to a building set for demolition, destined for landfill. When I dug it up the roots spanned approx 2 metres across so I got to work trimming these and any branches that helped it fit into the boot of my car.
*The Law States: you must always get permission from the landowner to uproot any tree or plant
It felt amazing finding something that was destined to die and saving it with the vision of transforming this ugly duckling into a pampered beauty, if I didn’t kill it in the process. It was kind of daunting as everything I’d researched pointed to the tree health over everything else, I couldnt keep a potted plant alive for longer than a few months. So, I went even deeper into the research.

Training the roots
In my mind this tree was destined for a small bonsai pot so this meant i would have to gradually train the roots to grow more densely, so it can still support the amount of foliage I wanted to retain. This meant I had to trim both the roots and the foliage at the same time, gauging how much of this I could do without stressing and killing the tree. I built a box with plenty of aeration for the roots and filled the base with sphagnum moss (aparently great for root health).
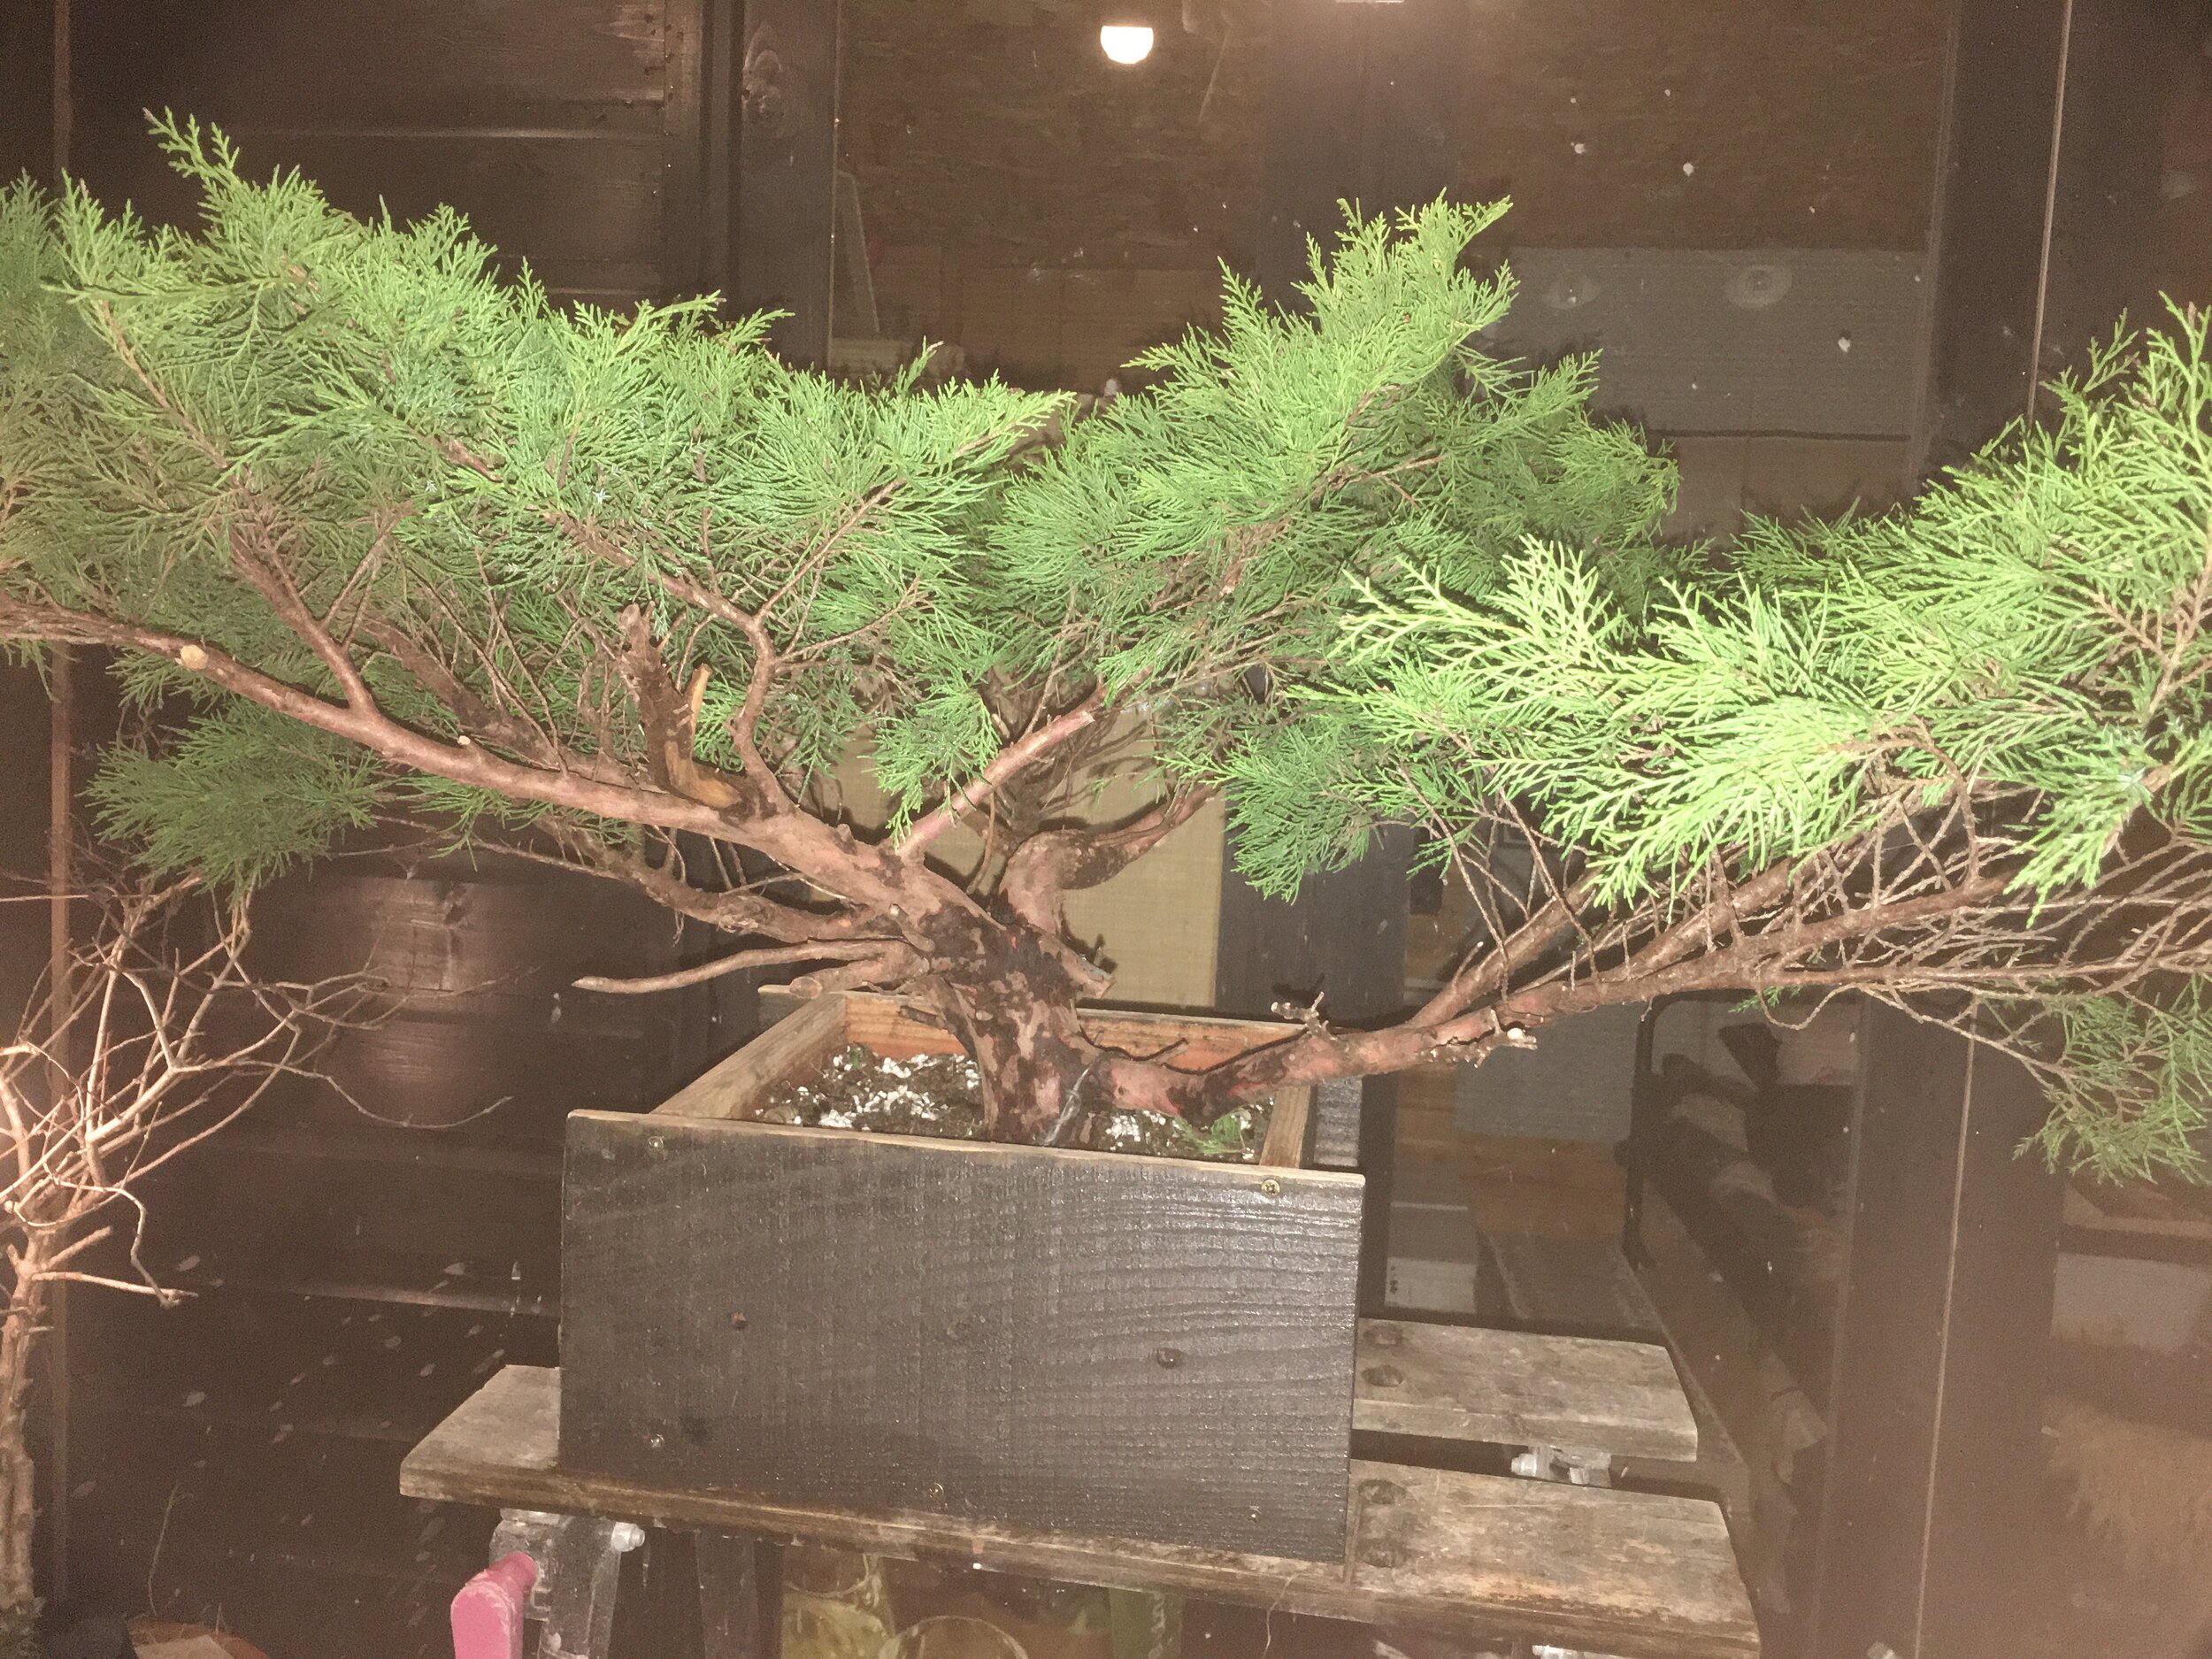

Creating Jin
Wild trees often foraged from mountain ridges in Japan have often been battered by the elements, in the process branches snap, die and create a feature called ‘Jin’ which is ultimately dead wood. I set out to create my own. I gave the tree approximately 5 Months ot recouperate before doing this.


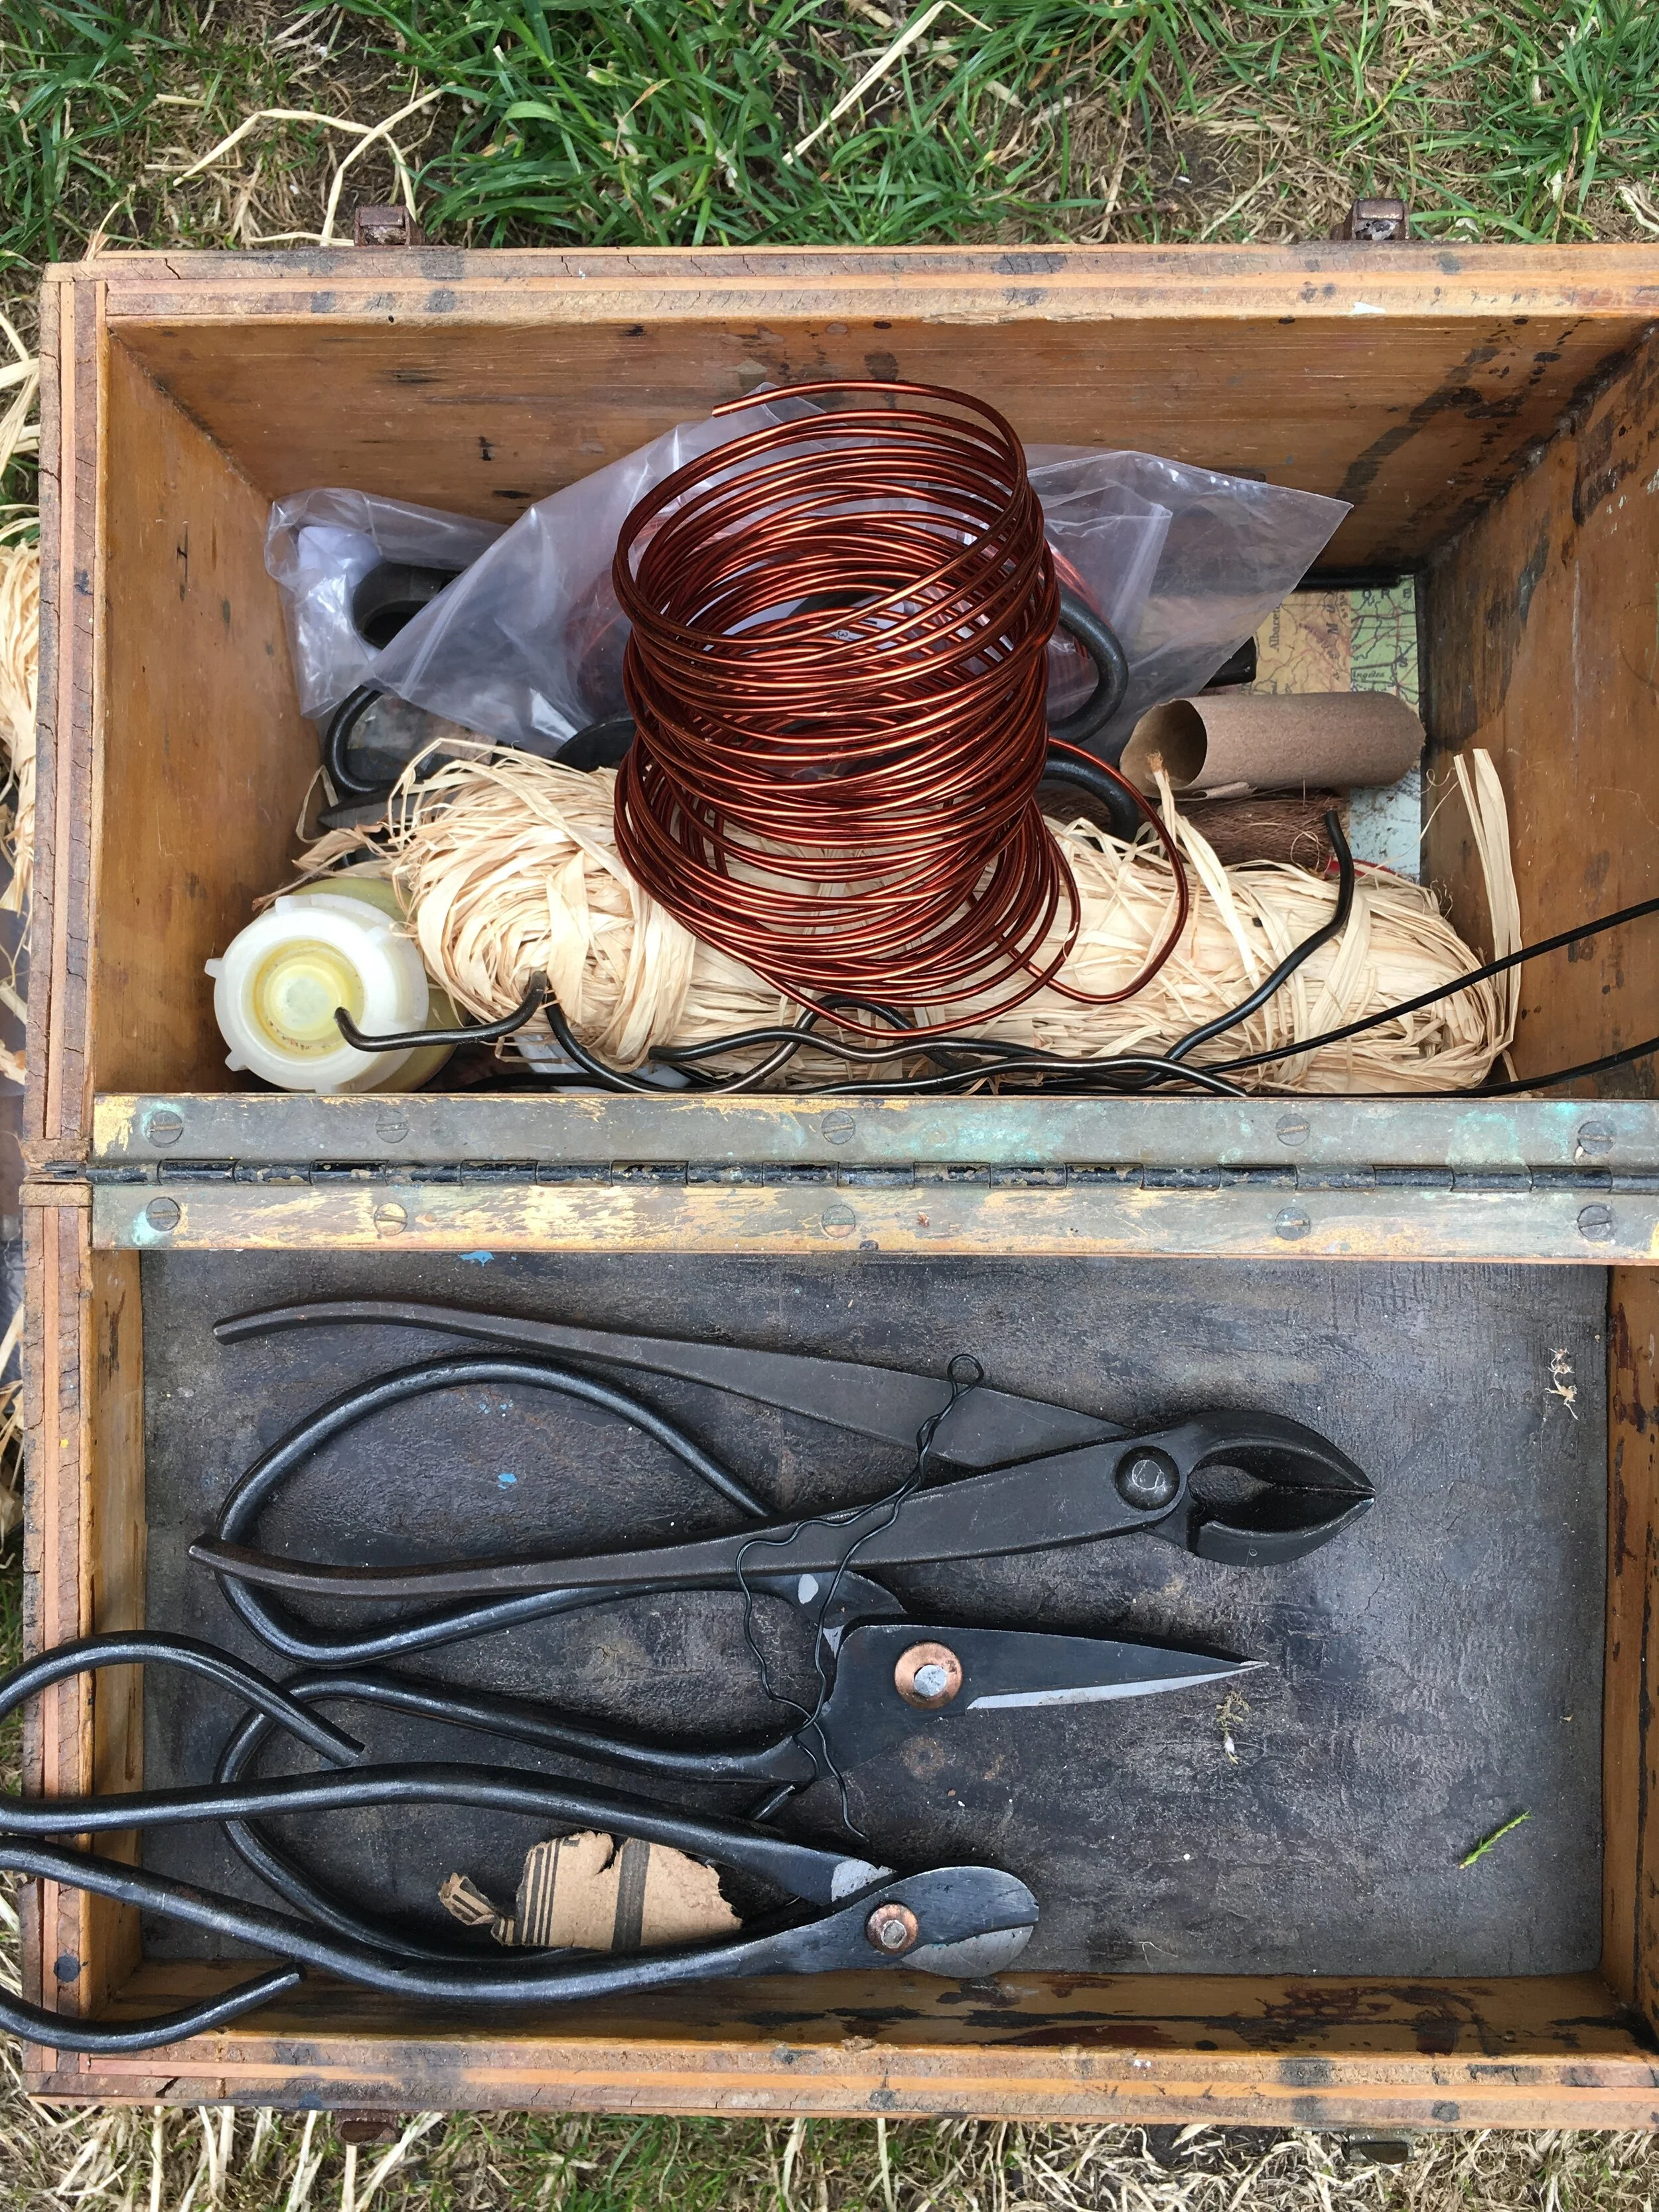
Using specialist bonsai cutting tools I sniped the branched and with a pair of pliers gripped and stripped the bark back towards the root stem (to give a more natural look). Then removing all the remaining bark and brushing on Lime Sulphur to the surface to protect the tree from infection.
Wiring + Shaping
After letting the tree settle for over a year I then commenced with shaping the tree into desirable forms. Starting with the thick branches I wired from the base out towards the tips. As the branches get thinner so does the wire used. This is to be done just before the growing season and there are best practices for this that I will go into at a later date.
One thing that is essential for larger bends is that you protect the tree with raffia which is a reed like material that you soak in water and then tightly wrap around the branch before wiring. The wiring is to spread the stress caused on the branch from bending and the raffia does the same but also protects the bark from the wire. Raffia wrapping techniques can be found online.
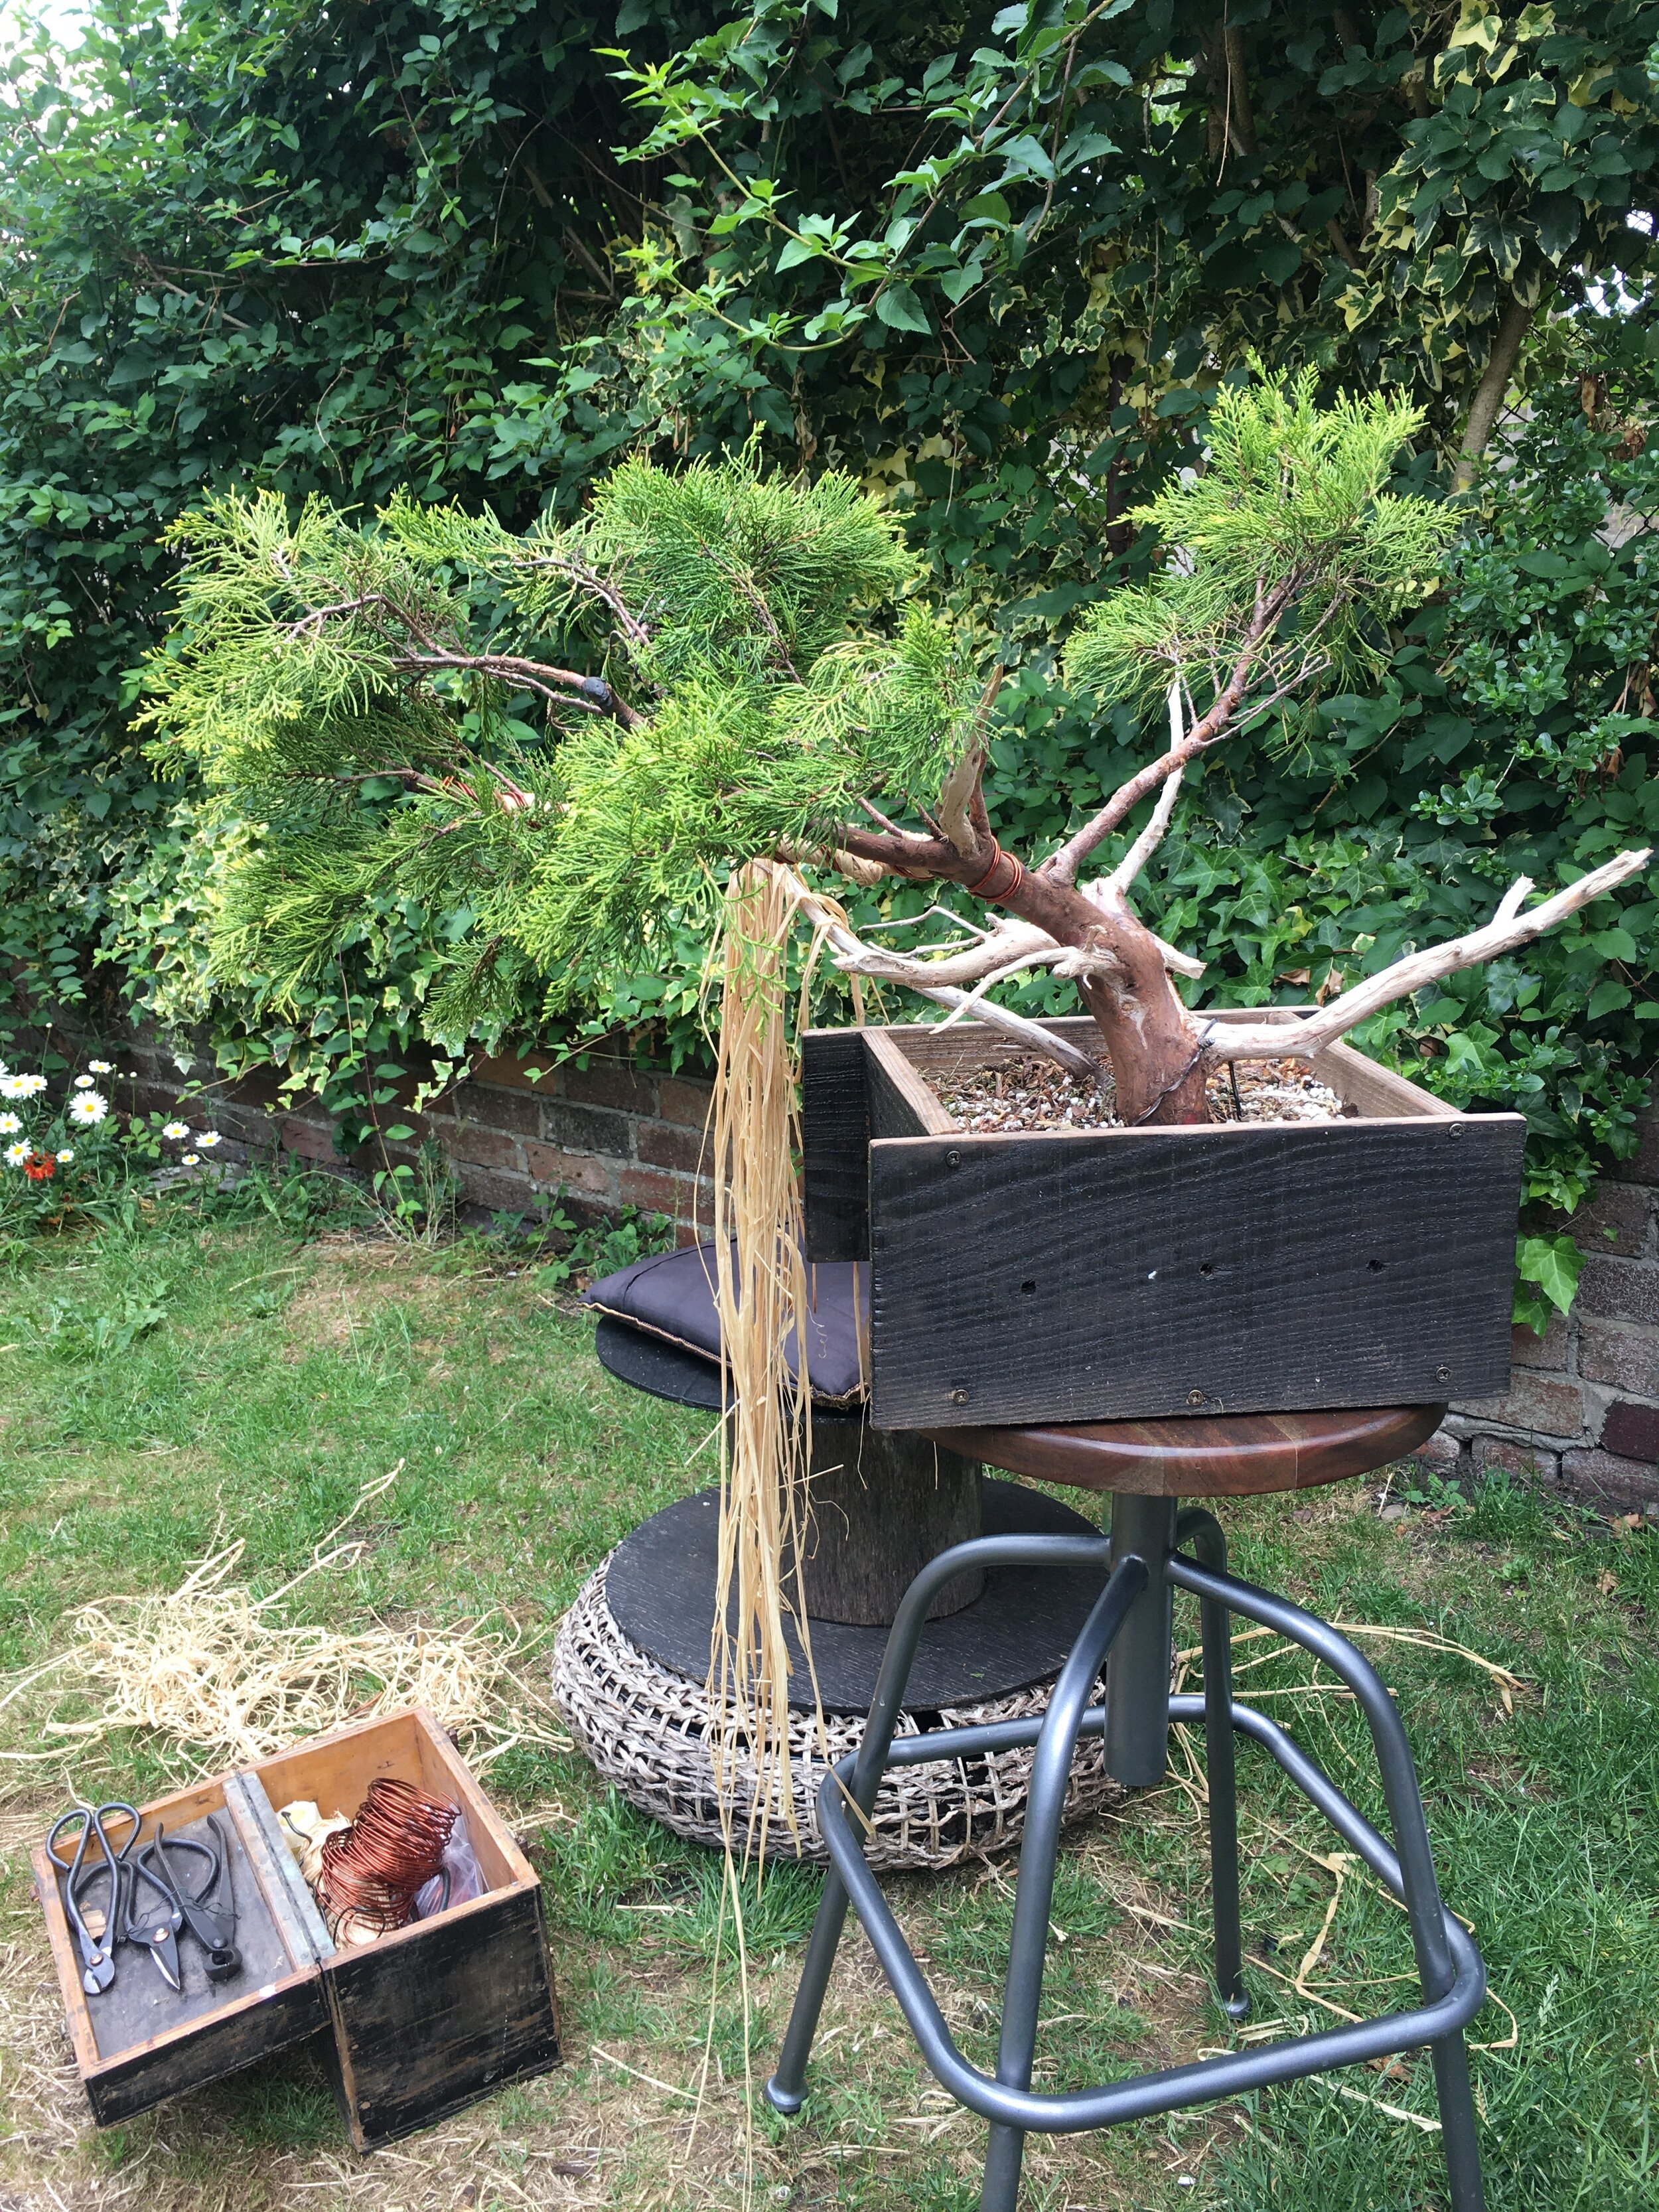

The eager eyed amongst you may notice a black substance on the branch above. This is a putty that is applied to open wounds where I have cut a branch. The wax protects the tree from infection and helps with healing, it is applied immediately after the branch is cut.

After a few years of working on the tree the decision process becomes more difficult. There are certain decisions to be made in regards to the proportion, flow and direction of the tree from its base to the canopy. At the same time the originally character of the tree and its ‘story’ is always a consideration. As you get more into the crafting of the tree, the process becomes far more refined. Something I found overwhelming when I first began researching the art form. The Japanese are certainly known for their attention to detail and the art of bonsai is of no exception. I can understand it. The tree begins to command more and more respect as time goes on due to the shear amount of time and careful consideration put into its journey as a bonsai.
The below image is a photograph of the final shaping and wiring (one branch bent in shape with the help of the Jin on the right hand side) it is also photoshopped as I am considering removing a branch (mid way up the trunk of the tree) but am a bit scared to do so. Im attempting to work out whether I will compromise the tree too much or whether the removal of such a significant part will actually enhance the aesthetic.
[to be continued]…

